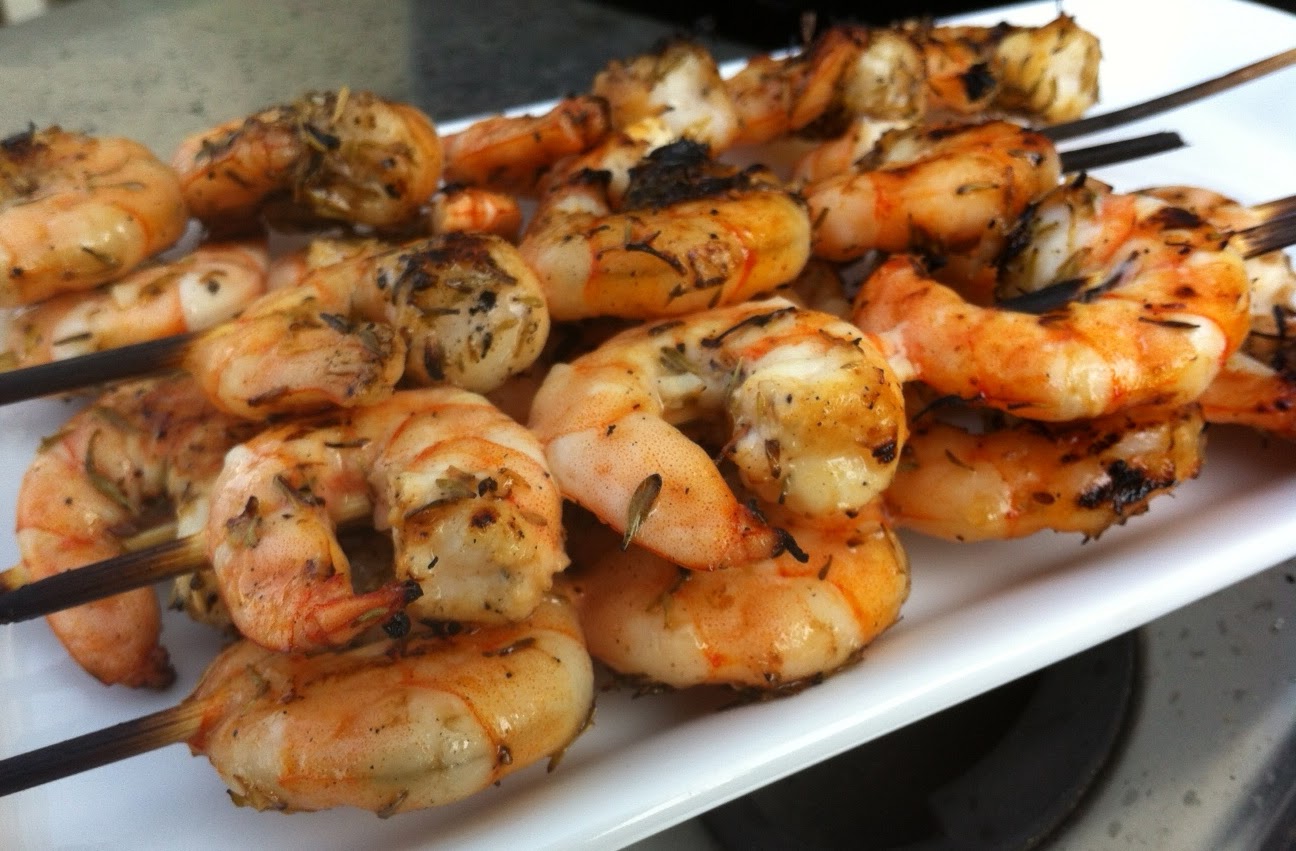
I collect dishes, serving ware, and just kitchen stuff in general. My house is full of plates, glasses, chafing dishes, platters and serving trays. You name it I have it. Some women collect shoes, I collect dishes. I’m not quite sure if I should be ashamed or proud to admit that I have enough dishes to host a formal sit down dinner for 30 people without having to rent anything. Did I happen to mention that, I am single and therefore usually cooking for one…LOL
There is restaurant supply store near my house and the first time I shopped there I spent 2.5 hours in the store and I would’ve stayed longer if the store hadn't closed for the day. I got some great deals (a 4 piece place setting for 12, a 2 piece place setting for 8, appetizers plates, casserole dishes etc.).
My last dish purchase was 4.5" footed dessert bowls from Crate and Barrel. I love that store! The dessert bowls are so cute and at $2.50 a piece, how could I pass them up, so I bought 12.

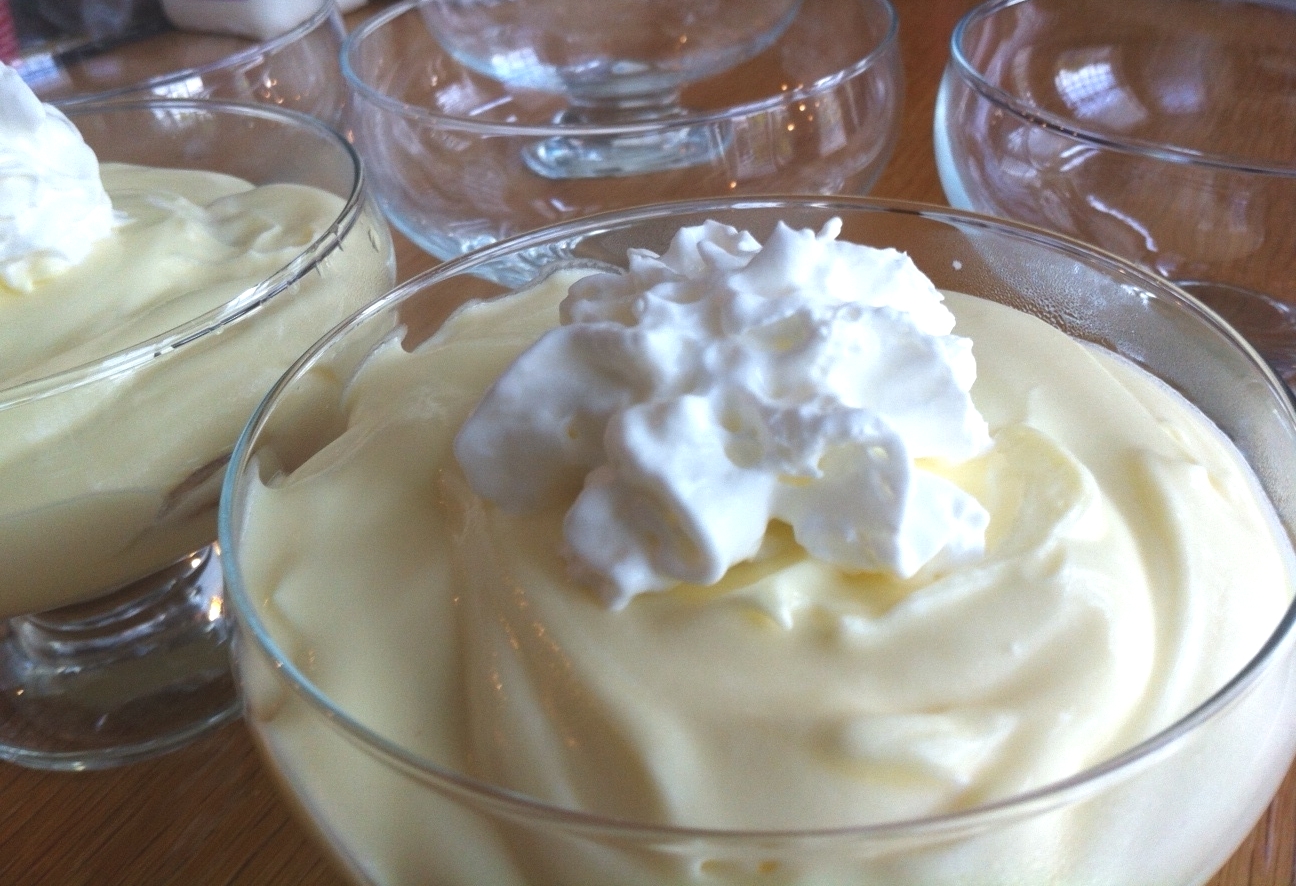
Banana Pudding Parfaits
Ingredients
- 1 large banana, cut into 24 slices
- 2 cups 2% milk
- 3/4 cup cool whip, plus ¼ cup for garnish
- 1 small box banana cream or vanilla flavored instant pudding
- 20 Vanilla Wafer cookies
1. Whisk 2 cups of milk and pudding mix in medium bowl. Stir in ¾ cup of cool whip.
2. To make the parfaits, it does not really matter how you do the layering. The number of banana slices and vanilla wafer you use will depend on the dish you use and the look you want to achieve. My preference is to crumble 2 vanilla wafers into the bottom of the dish, layer with 3 banana slices, then ¼ cup of pudding. For the next layer, break 3 cookies in fourths or halves and place them on top of the pudding, layer with 3 banana slices and then add 1/3 cup of pudding and finish with a dollop of cool whip. Repeat. Chill and serve.


a.JPG)